
Path Pillow Tutorial

Layout and get familiar with all the materials
Place batting behind top half of fabric length

- Pin fabric and batting together
- Plot put quilting areas
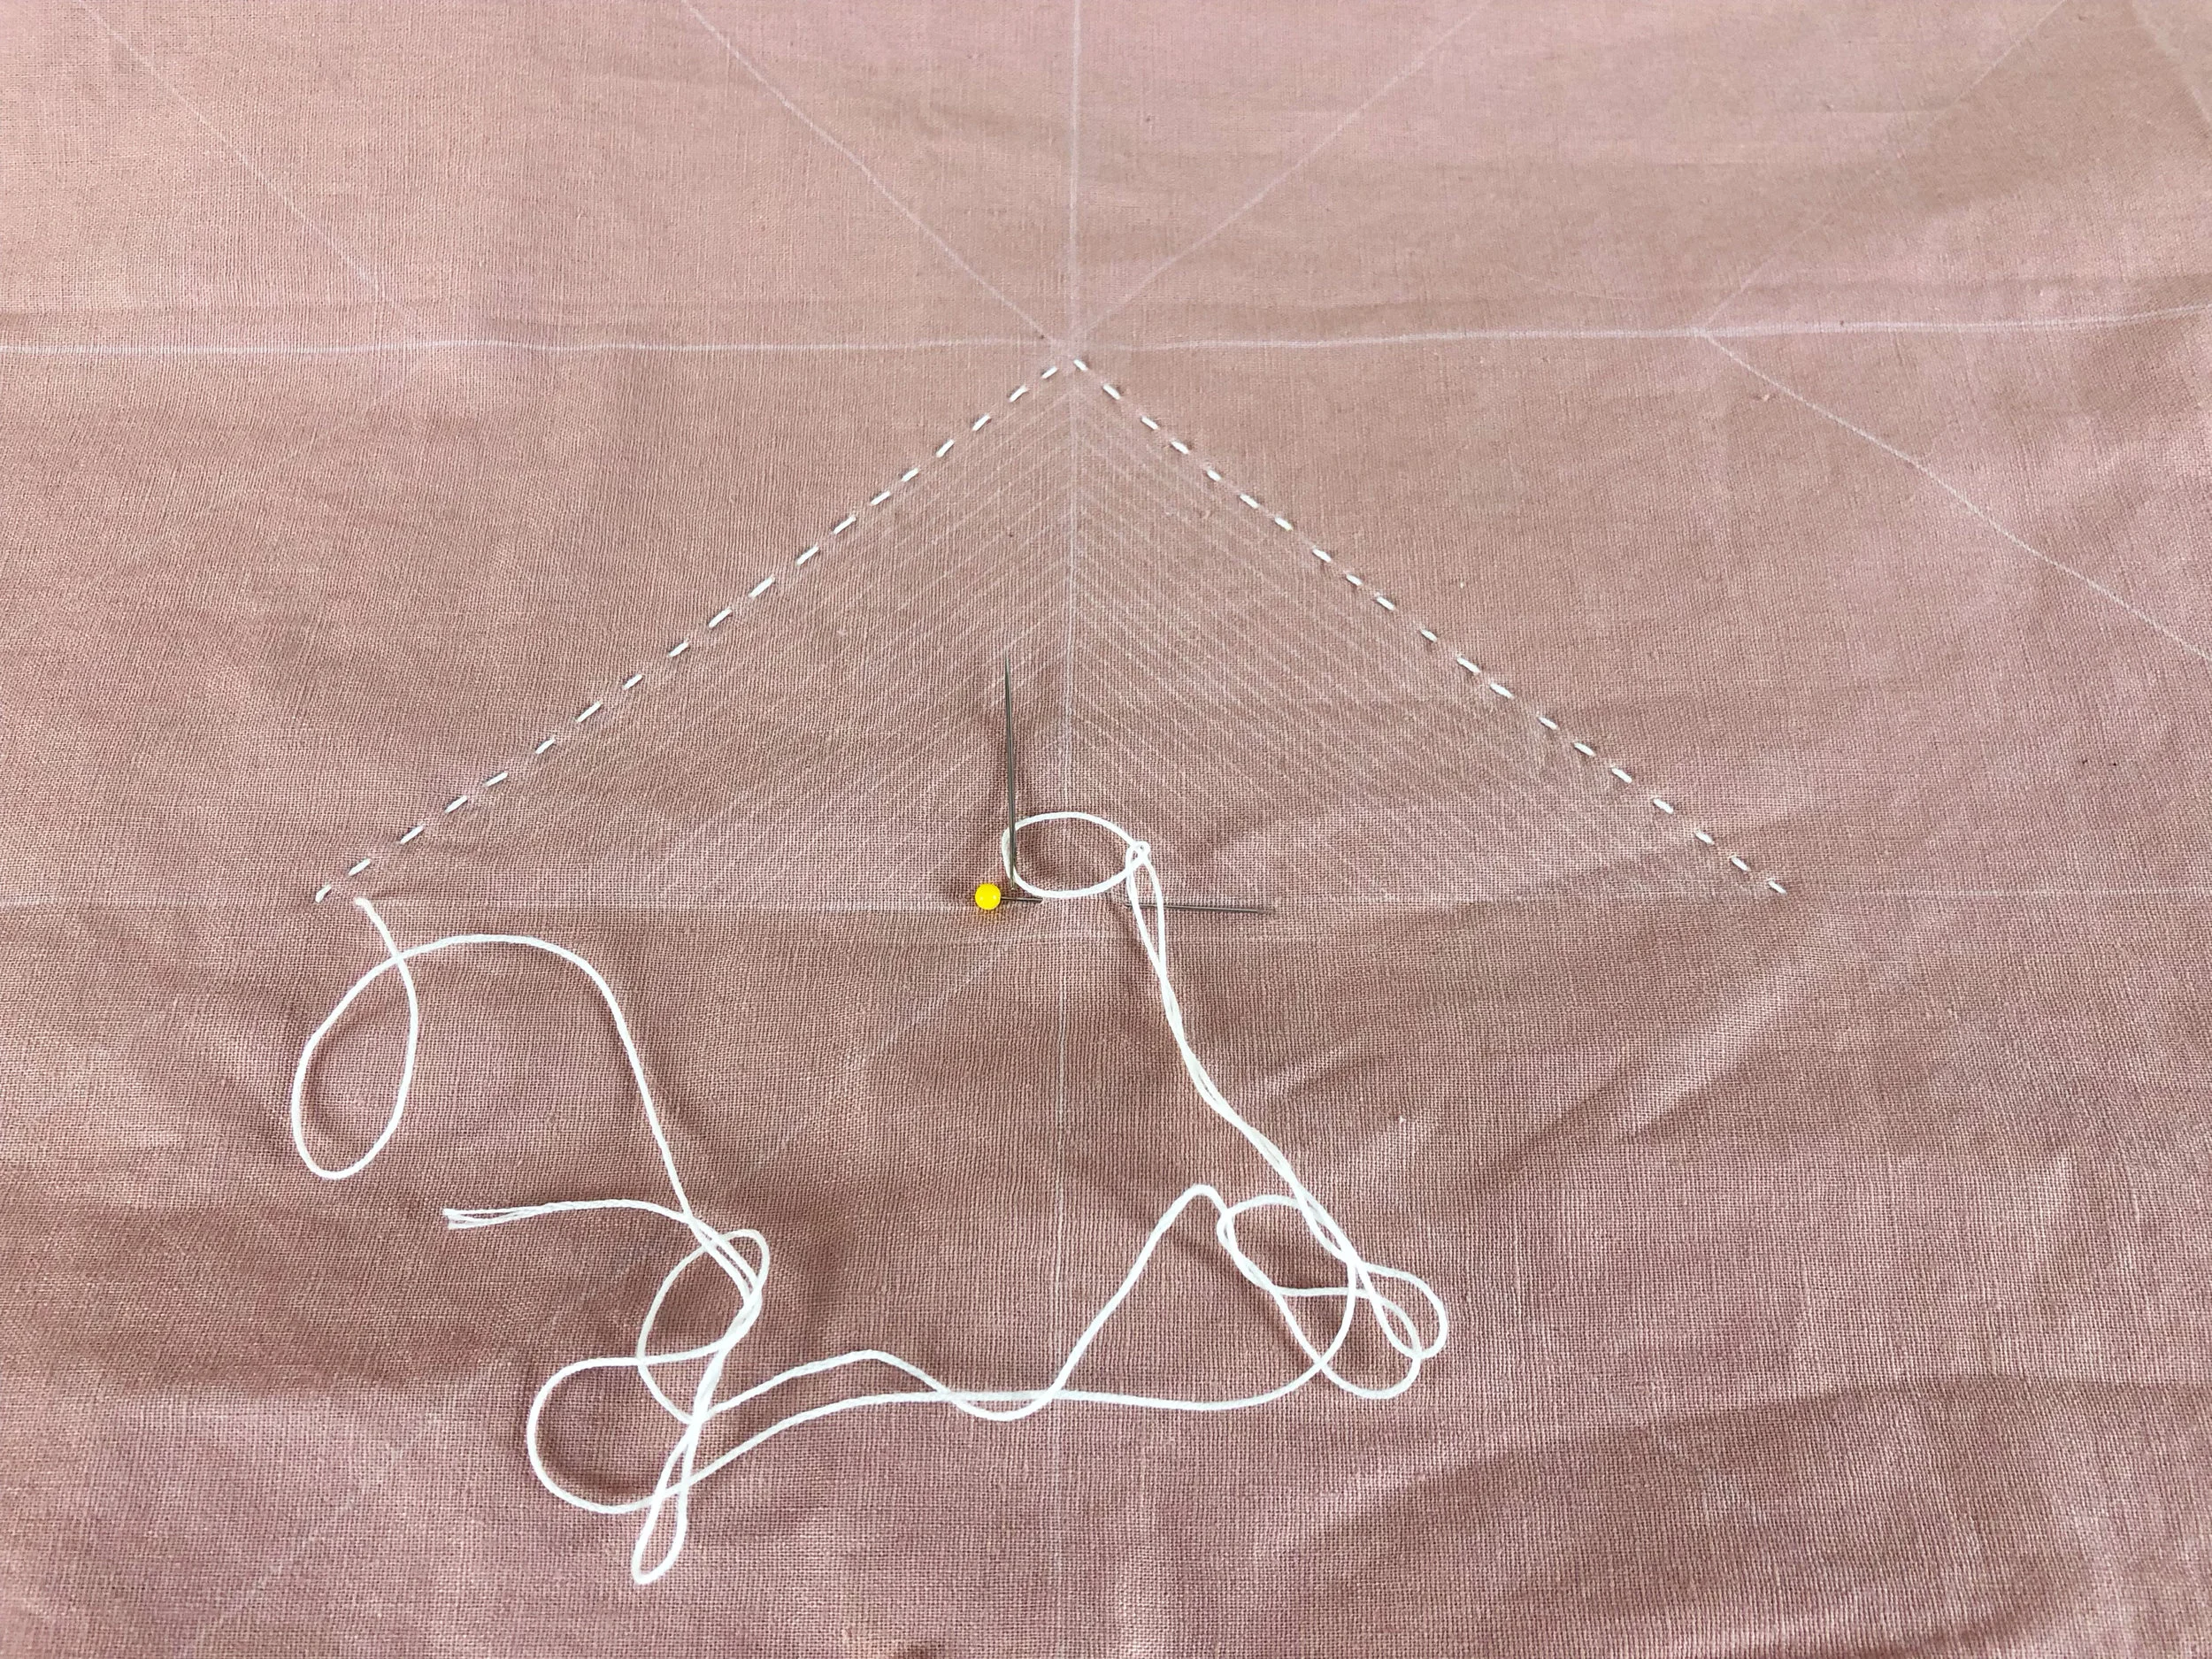
- Mark stitching lines 1/4" apart
- Stitch through all layers
- Stitch length is according to your preference. The example pictured has stitches about 3/8" long
- Tip: Work with a thread length around 30" long and don't knot the end of your thread. Working with a long thread length will end in knots and cause you pain.

- Fill in all the designated quilting areas with stitches
- The direction of stitching is entirely up to you, but why not have to make one less decision in life and follow my design?

- With a sewing machine, construct the pillow by starting with the zipper
- Sew the sides at 1/2" seam allowance
- You're right. I skipped a lot of information here. Watch the video for more detailed steps

- Insert the pillow into the case you just made
- It takes a little effort to get the insert in since it is one size larger for max fullness.
- Push the filling around and work out any lumps or unevenness